Restoring a classic vehicle back to a roadworthy condition is very satisfying, especially when you finally get to take the vehicle out on the public road for the first time.

It can also be very challenging and the question arises of how far to go when recommissioning a classic vehicle that has been off the road for some time.
The extent of any vehicle restoration or recommissioning project largely depends upon the condition of the vehicle at the time – whether it needs a ‘from the ground upwards’ full restoration or just a thorough inspection overhaul to get it going again.
Other important considerations include parts availability, budget and time constraints and the skills set of the owner. Where skills are lacking, outside help and advice will be needed from specialists with knowledge and experience of working on the vehicle type in question.
In 2021, I finally decided to recommission my classic 1965 Lambretta GT200 scooter and get it back on the road again. More than twenty one years had passed since I had last ridden the scooter on the public road and eleven years since its restoration by students at Northampton College (see Classic Lambretta Part 2: Restoration).
Since my scooter had already been restored, I hoped that getting it back to a road going standard would not require too much additional work.
Any mechanical and electrical work needing doing to the scooter would not be a problem.
Vehicle paint and bodywork on the other hand has never been my field of expertise.
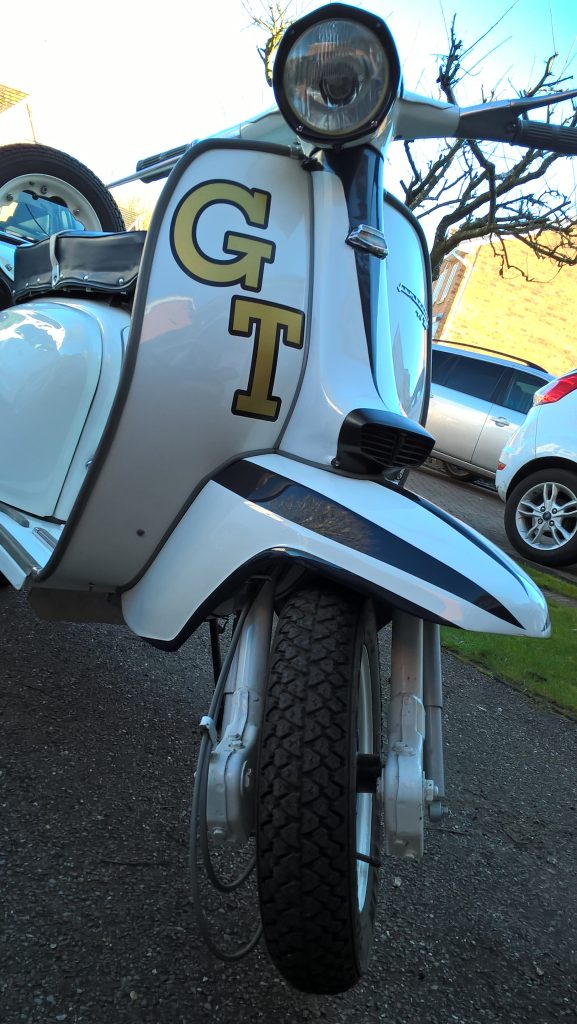
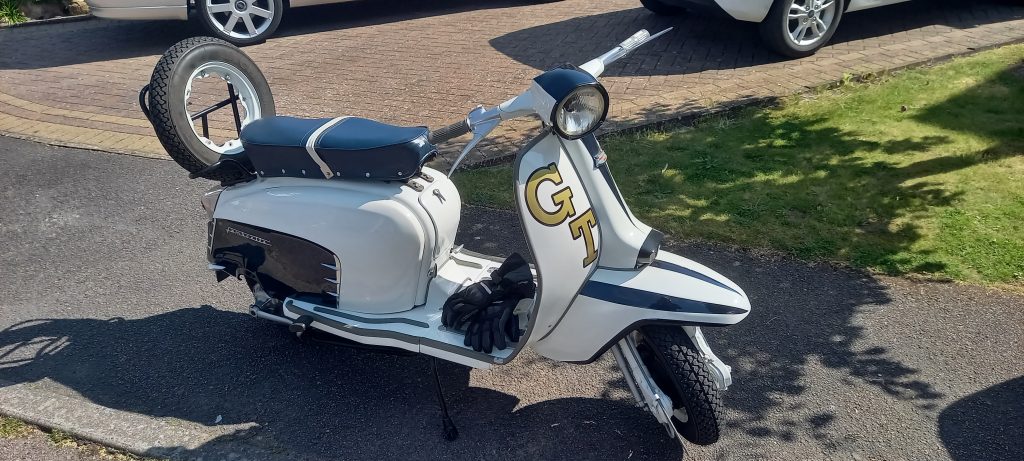
However, after 11 years in storage, the scooter still looked immaculate in its 1960’s style paint scheme applied during the 2010 restoration (seen here in February 2021).
So paint and bodywork would not be a problem either on this occasion.
I was confident therefore that the recommissioning project would not be too extensive.
As it turned out, a great deal of work was in fact necessary.
This blog covers just some of the work I needed to do in order to recommission the scooter and focuses mainly on refurbishments to the engine and gearbox unit. I will cover brakes, electrics and other items and improvements made to the scooter in a separate article.
First inspection
I initially considered recommissioning the scooter early in 2020 and began inspecting the scooter and compiling a list of jobs needing doing and new parts required. The list quickly became quite long and I started buying in some of the parts which I sourced from Cambridge Lambretta Workshop.
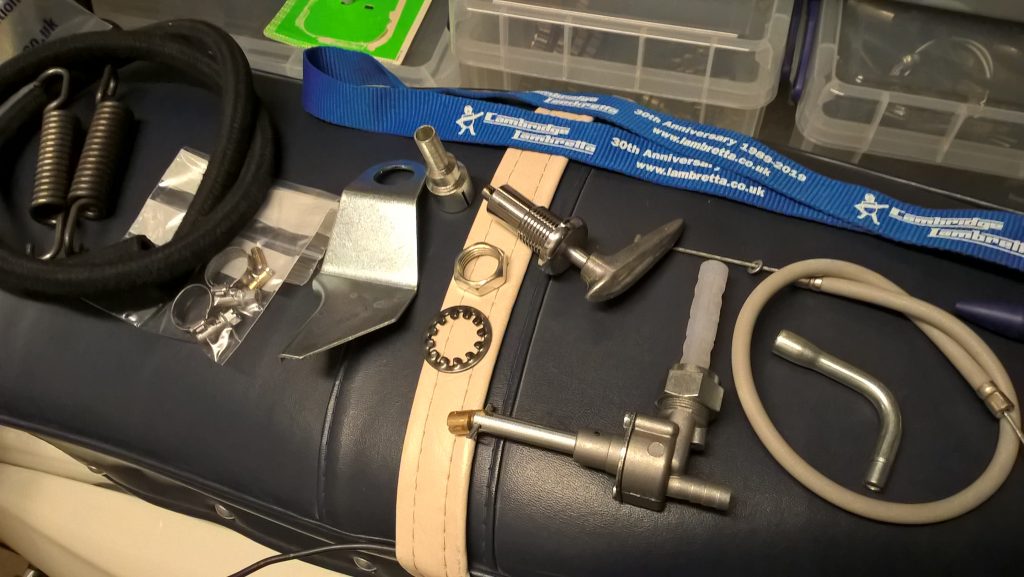
New parts purchased included a fuel tap as the old one was leaking and an original specification polished aluminium choke lever and choke cable operating assembly to replace the old plastic aftermarket parts. I also bought two new original specification stand springs as the existing spring was a weak, non standard poorly fitting item.
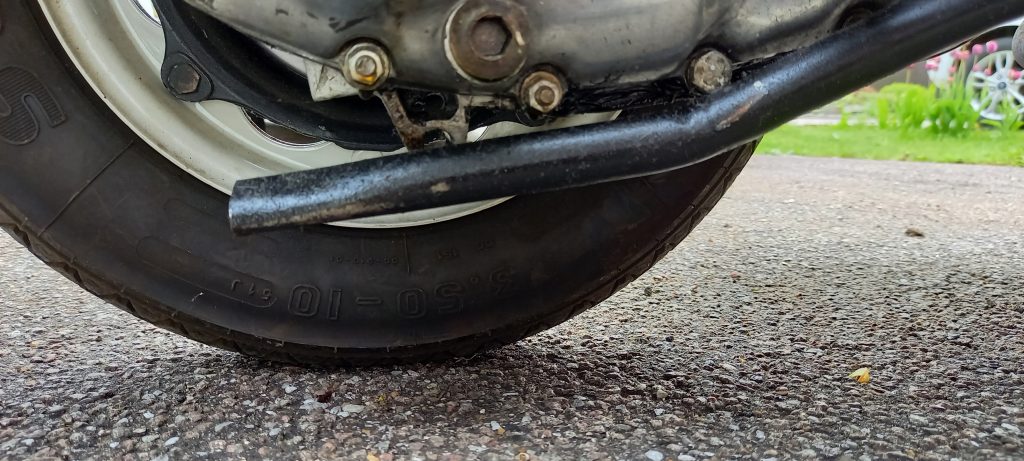
I had been aware for some time that the two engine mountings were deteriorating – the rubber blocks starting to perish and split due to their age. The inspection this time round revealed excessive free movement due to both mountings having now completely perished (as can be seen in the short video clip below).
The engine mounting bolt retaining nuts were also of a non-standard conical design and I made a note to replace them as well with new correct specification parts.
Fitting new engine mountings would involve removing the engine unit from the scooter’s frame and acquiring a special engine mount extractor tool for the job.
Other items needing attention included refurbishing the brakes, fitting new tyres and resolving an on-going oil leak from the bottom of the gearbox.
The scooter’s electrics also needed some attention. It was becoming clear that recommissioning the scooter was going to involve quite a lot of work.
My plans to get the Lambretta back on the road in 2020 were cut short by the Covid pandemic. Restrictions imposed from March onwards thwarted all plans to recommission the scooter and the project went no further for the rest of that year.
12 months later…
It was around April 2021 when I revisited getting the scooter back on the road. From the previous year’s inspections, I had a good idea of the work and parts that would be needed to bring the scooter back up to a road going standard.
Two of the most important jobs previously identified were to replace the perished rubber engine mounting blocks and the leaking fuel tap.
As can be seen in the earlier video clip, the failed engine mountings had significant movement. These were a serious problem from a road handling and safety point of view as they form part of the scooter’s rear suspension together with the rear spring and damper.
Engine mountings
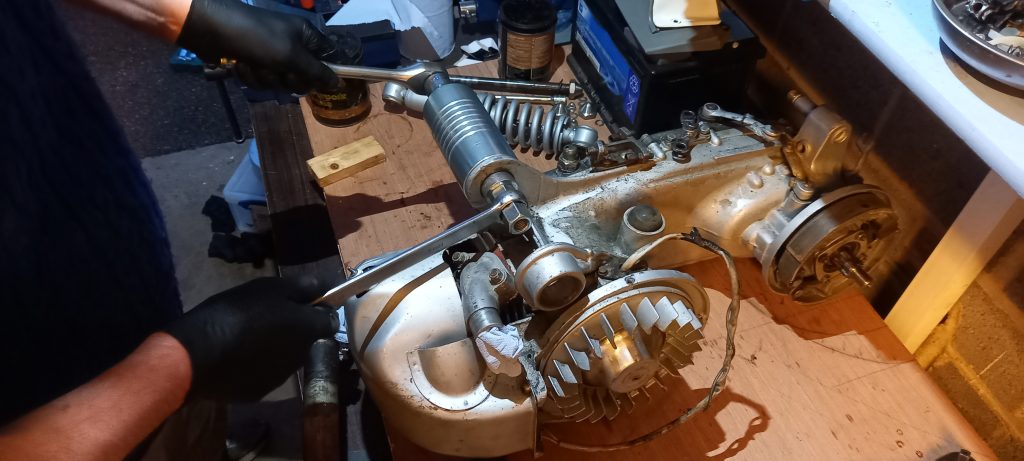
As the failed engine mountings were quite a big job, I did them first. I bought the engine mount extractor tool and removed the engine unit from the scooter’s frame. Removing the engine would also make it easier to fit the new fuel tap without disturbing the fuel tank.
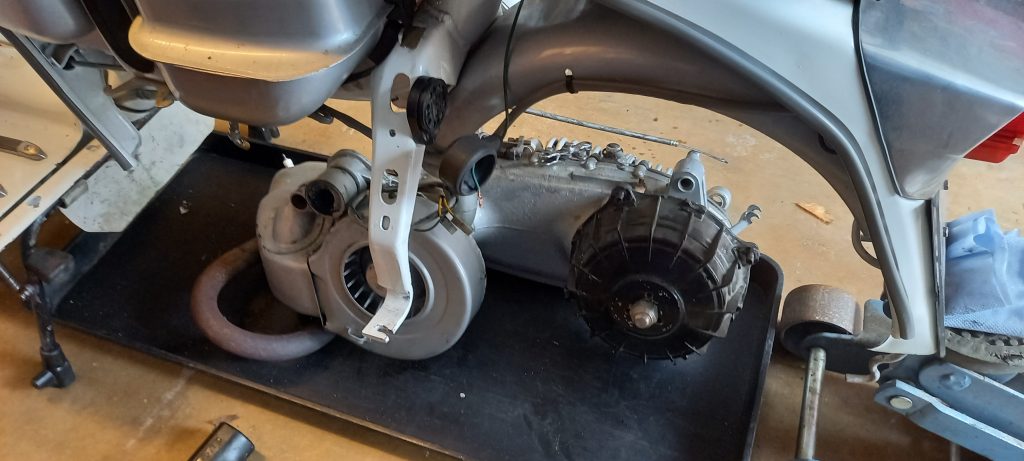
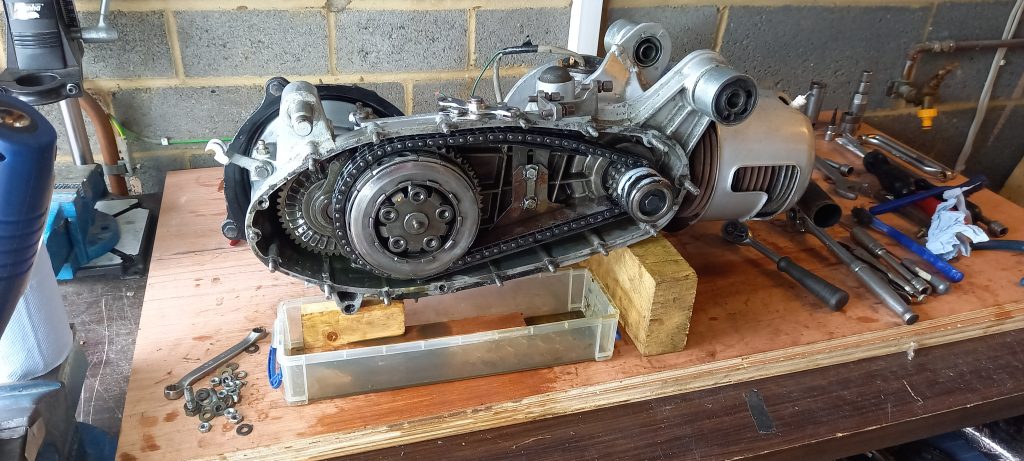
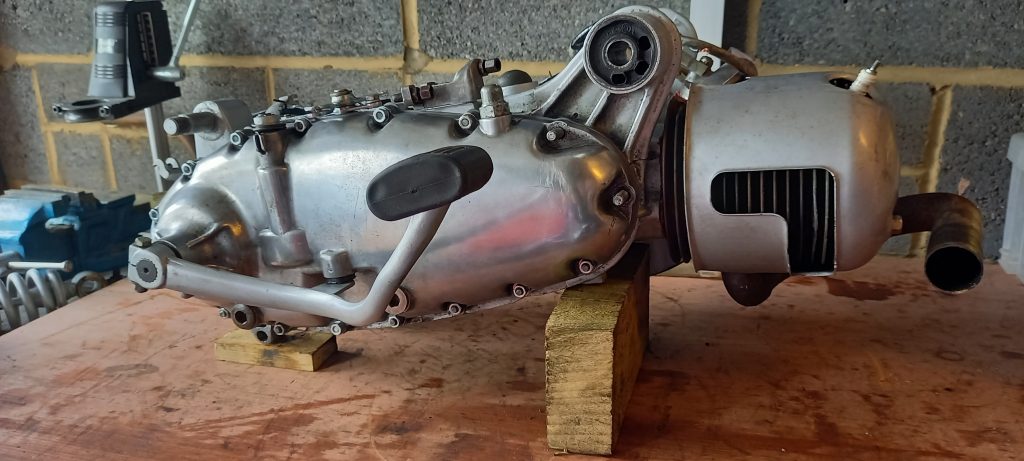
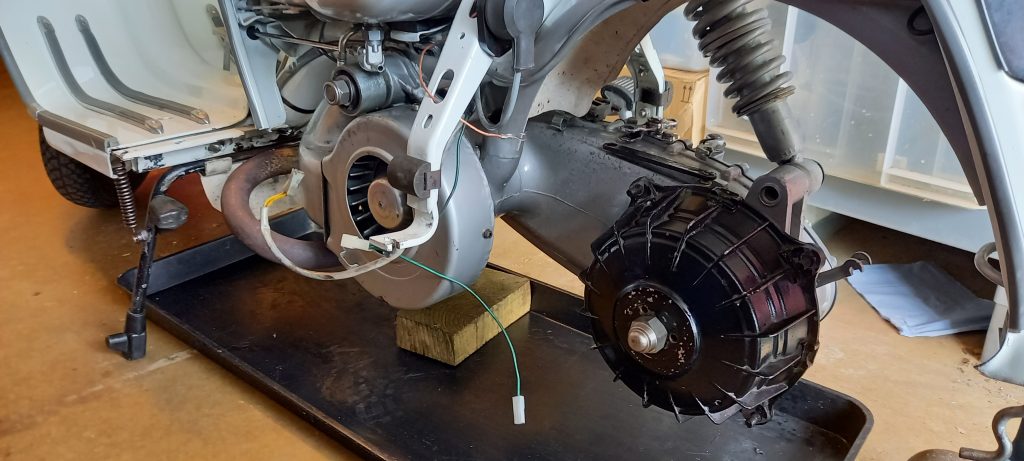
The Lambretta’s engine and gearbox form a complete unit along with the rear wheel hub and rear suspension damper mounting. The rear of the scooter’s frame needed supporting whilst the engine was out.
With the engine unit now on the work bench, it was possible to see how badly perished the engine mountings actually were.
The steel inner sleeves of both engine mountings were completely detached from their rubber blocks and could easily be pushed out by hand.
Also, with the engine out it was now possible to assess some of the other items that would need doing before fitting the engine back into the frame.
These included removal of the rear hub to inspect and recondition the rear brake components. The hub cone that slides over the end of the gearbox shaft – and on which the rear hub mounts – was also worn and needed replacing.
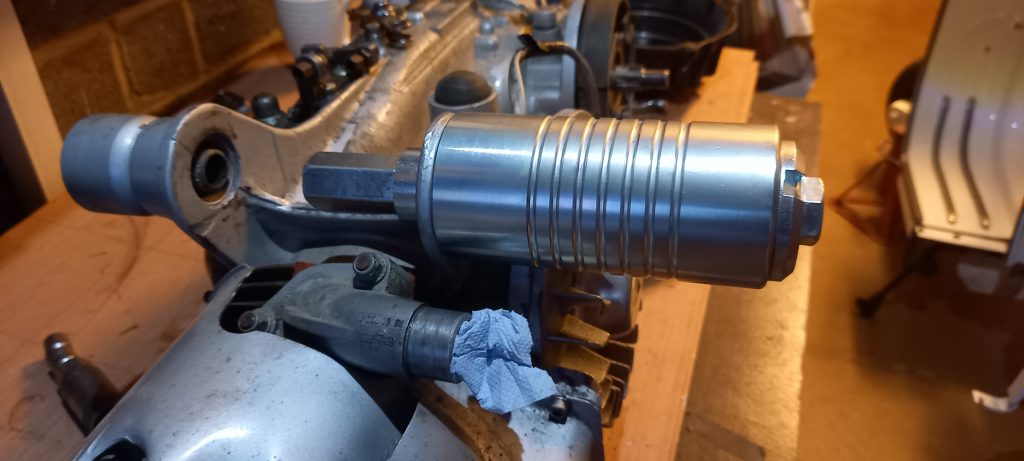
The engine mount extractor tool is a combined extractor and puller. It is used one way to remove old engine mountings and then in reverse to press new ones in.

As mentioned previously, I decided to also replace the engine bolt, nuts and washers with new original specification parts.
Fitting the new engine mountings was straight forward using the extractor tool. The tool itself is of a new design from German company BGM Tuning. It fits squarely up against the engine casing and allows the mountings to be removed smoothly and evenly.
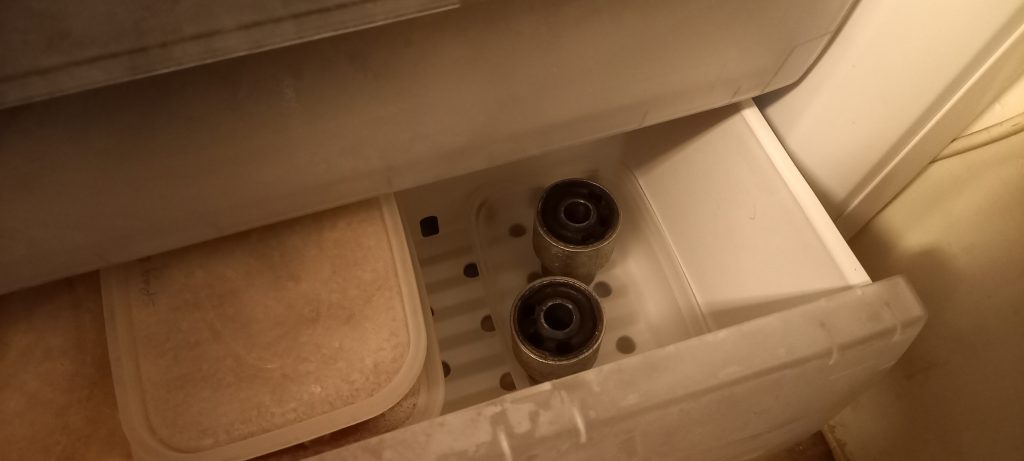
Use of a heat gun is essential to warm and expand the engine casing to ease fitment of the new mountings. The mountings were placed in the freezer for half an hour beforehand.
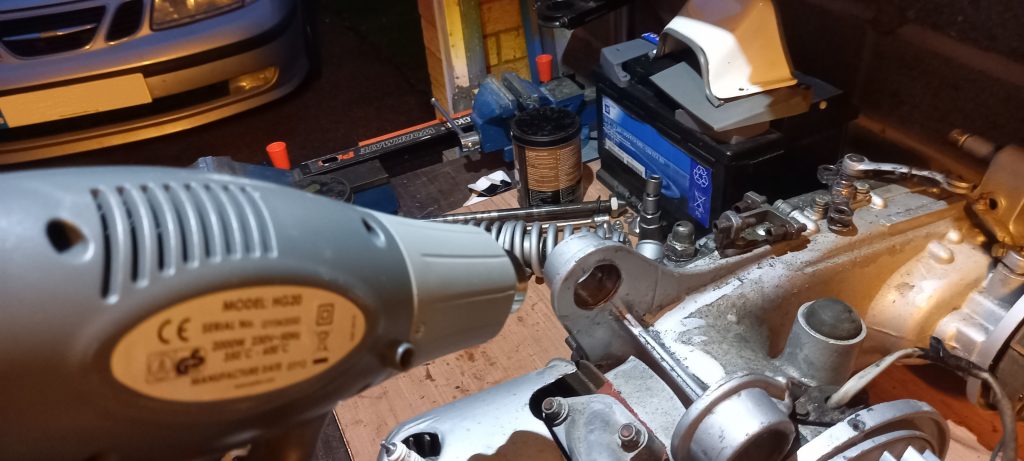
After pre-warming the engine casing and cooling the new engine mountings, the extractor tool pressed the mountings into the casing easily with the help of a smear of grease.
Correct positioning of the new mountings is essential for them to function properly. They should be placed so that one of the holes in each rubber block faces down towards 6 o’clock whilst the other two holes face forwards.
With the engine mountings done, I moved on to the job of replacing the fuel tap.
Fuel tap and supply
The new fuel tap needed to be fitted before refitting the engine into the scooter’s frame as the left hand engine mounting would get in the way and make it difficult to fit the tap.
It was quite probably the leak from the fuel tap that caused the left hand engine mounting to fail as the tap is positioned directly above the mounting. Fuel had been leaking onto the mounting contaminating the rubber block.
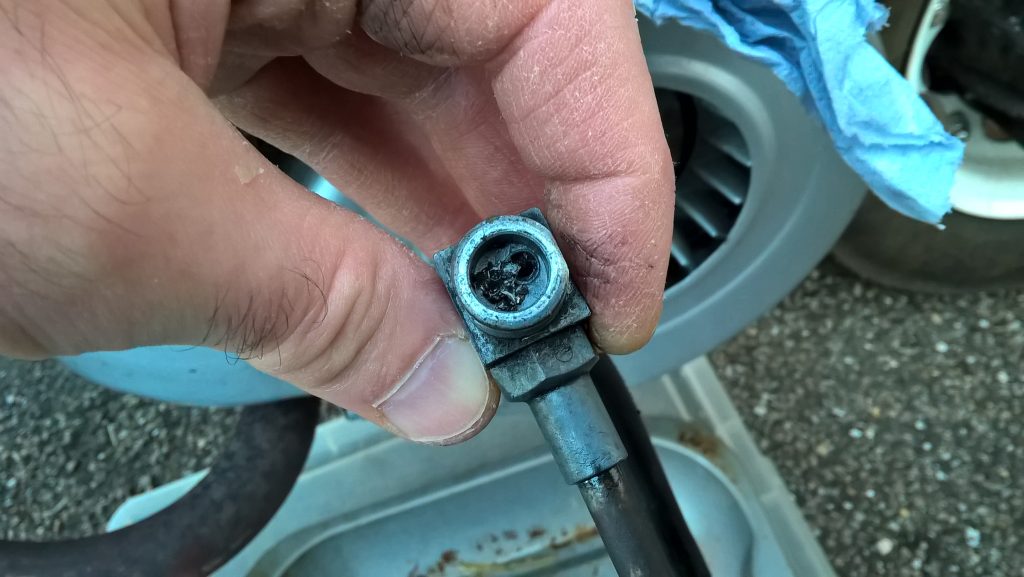
After removing the fuel tap from the tank, closer inspection of the tap internals revealed disintegrating rubber seals. There was also contamination and partial blockage of the tap from debris in the fuel tank that would need to be cleared.
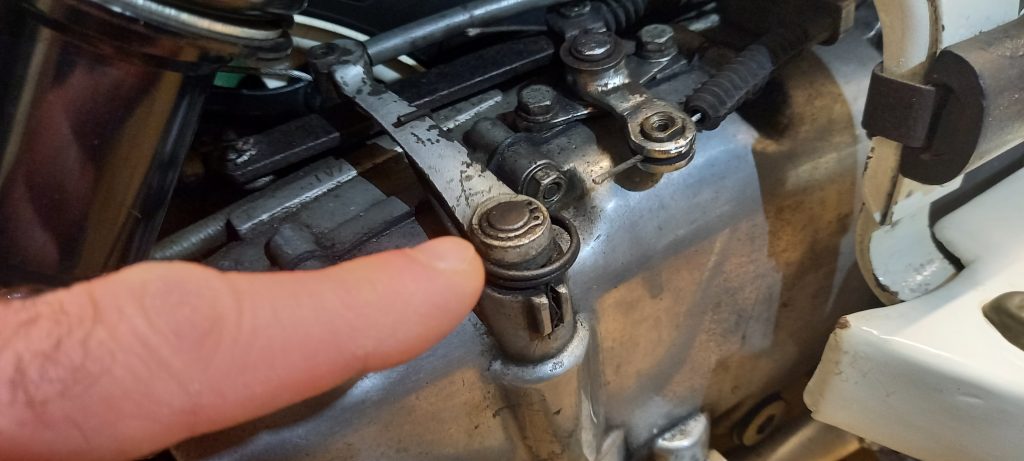
I replaced the old leaking fuel tap with one of a new design – a so called ‘fast flow, rear exit’ type. The image below shows the new tap fitted into the bottom of the fuel tank. It also highlights how close the left engine mounting is to the tap.
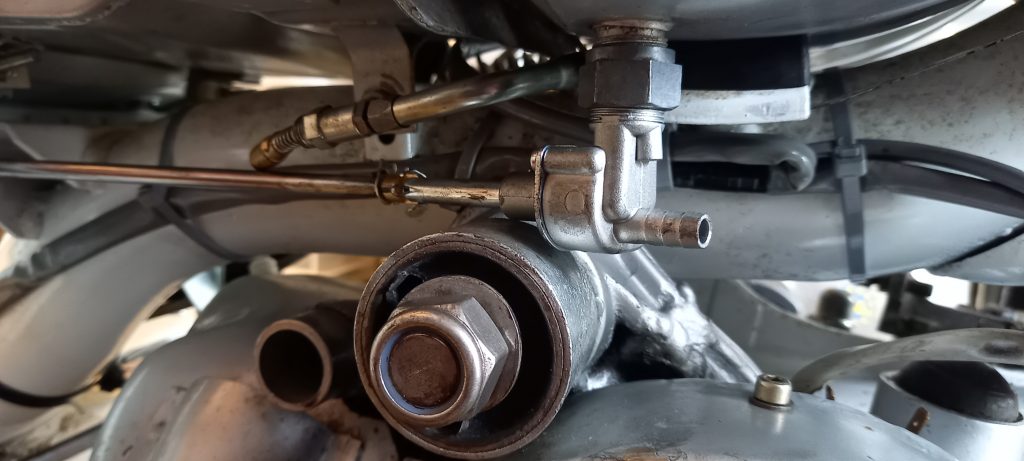
This fuel tap design gives a higher fuel flow rate from the tank to the carburetor. The rear exit means that the trunion part of the fuel tap’s housing to which the rubber fuel pipe attaches extends from the rear of the tap instead of from the bottom.
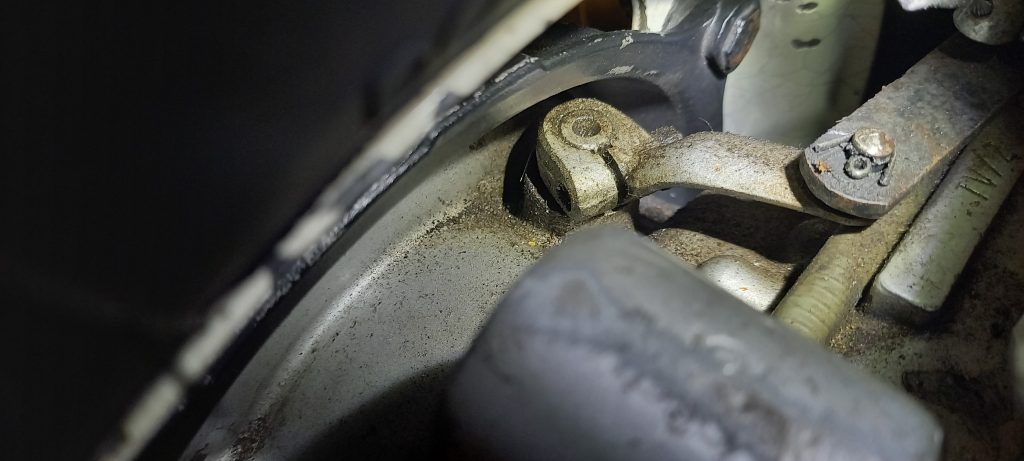
This allows for a smoother routing of the fuel pipe to the carburetor and prevents the pipe rubbing against the back of the engine mounting and flywheel housing (see image below).
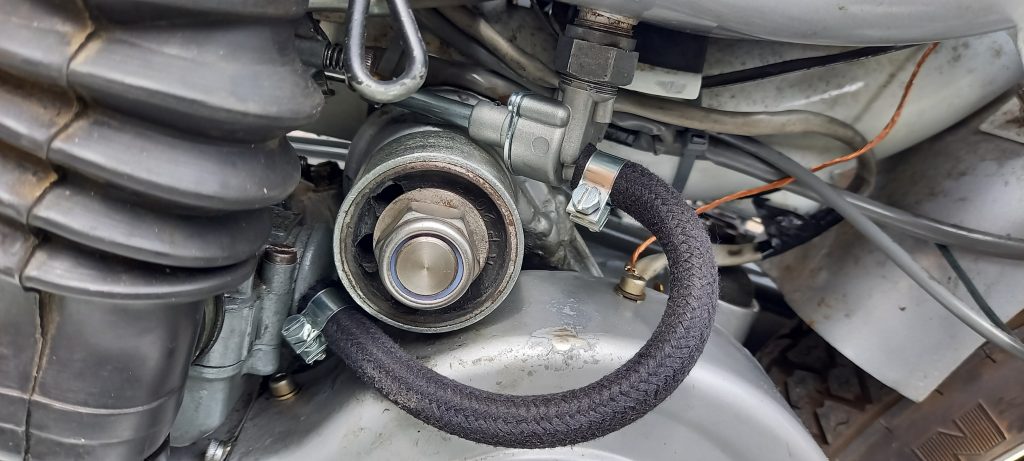
Overall, the fast flow rear exit fuel tap is a much better design and fitting arrangement compared to the original part.
Gearbox oil leak
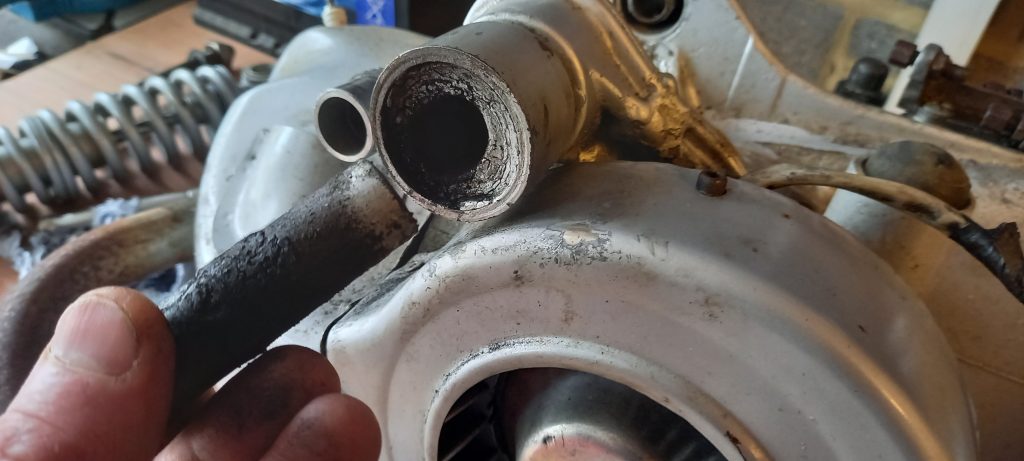
An on-going problem ever since I bought the scooter has been an oil leak from the bottom of the gearbox casing.
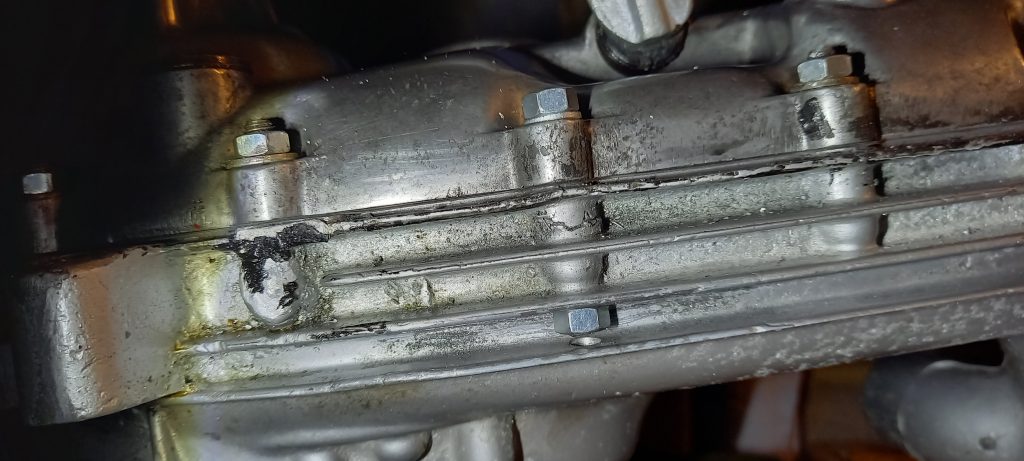
The oil leak is due to there being slight damage to the engine casing’s gasket surface joint with the chain case cover as well as a damaged thread in the lower engine casing stud hole. This had previously been plugged using an 8mm bolt.
Since this is the original engine casing that still bears the original engine number for the scooter stamped into the alloy, replacement of this casing is not an option here.
Of course, the way to repair it once and for all is to entrust the (stripped down) engine casing to an alloy engine specialist to refurbish the casing and re thread the stud hole.
But I wanted to avoid going to that much trouble on this occasion, so a different repair technique was going to be necessary.
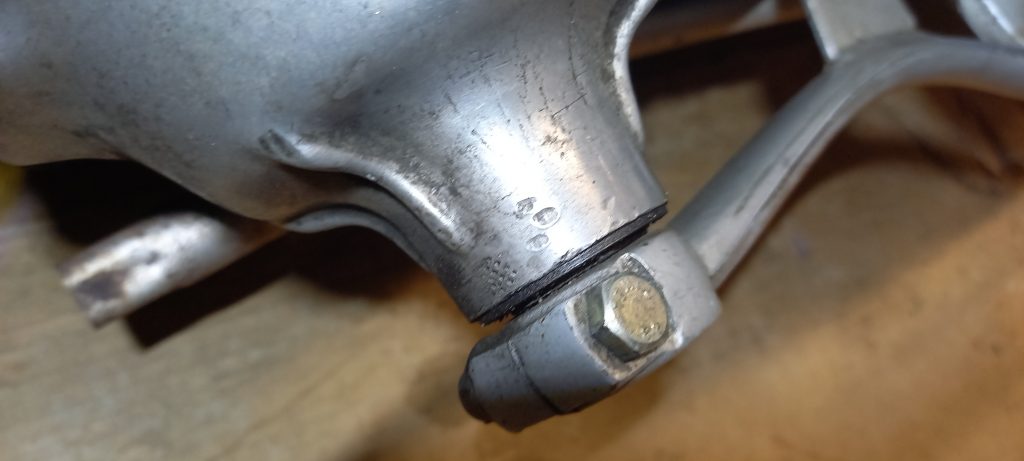
I chose to clean up and reface the gasket surface using wet and dry emery cloth and then drill out the stud hole to accept a modified 6mm bolt that could be inserted from the other side through the fins underneath the bottom of the engine casing.
From the right side of the engine, the repair is invisible and looks like just another chain case stud when the chain case cover is fitted.

From underneath, the repair is effective, clamping the two casings together. At some future date, I will want to entrust a proper repair to an engine alloy specialist.
Before the engine could go back into the frame, there was some other work that needed doing, this time in the gearbox.
The gearbox
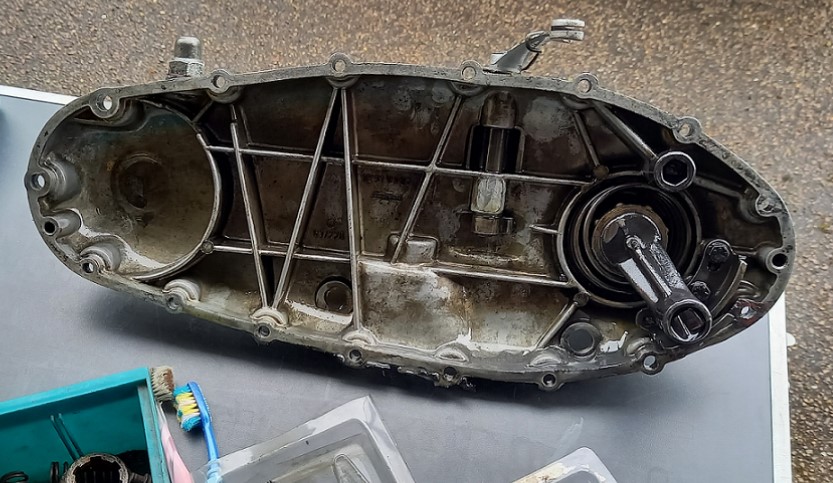
I had noted various seals, bushings, spacers and circlips that needed replacing on the clutch arm shaft and gear selector shaft assemblies where they located in the chain case cover and main engine casing respectively (see images below).
The clutch arm shaft is located in the chain case cover along with the kick start shaft. Since the chain case cover had already been removed to resolve the oil leak issue, it would be easy to replace the seals and spacers on the shaft.
A new oil seal was also needed in the chain case cover for the kick start shaft and the shaft needed correctly shimming with a spacer washer and correct size circlip fitting between the chain case and kick start lever.
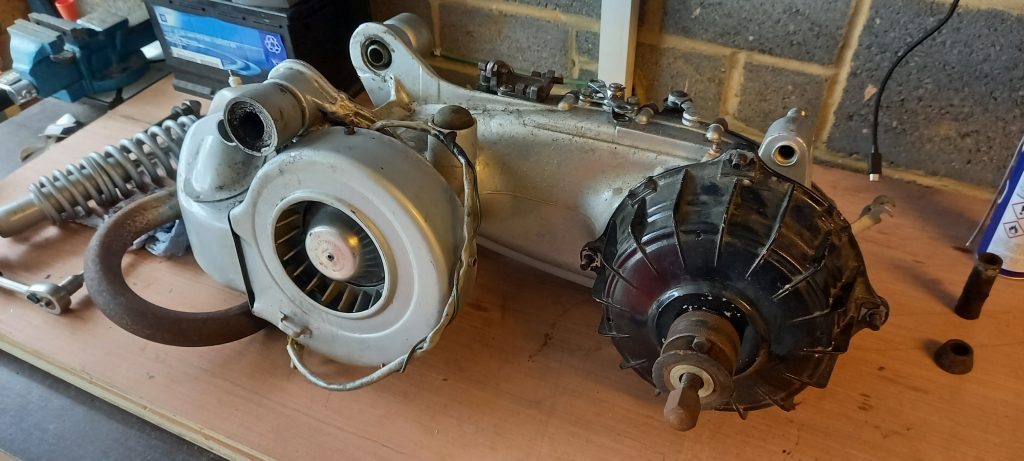
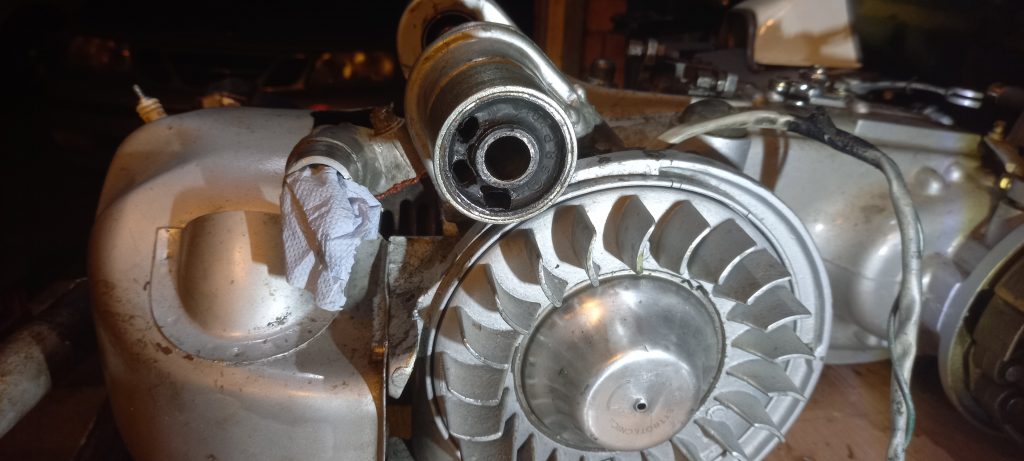
To do the seals and spacers on the gear selector shaft though, I would need to dismantle the clutch and gearbox gear train set completely. This presented an opportunity to inspect the gears and gear selector claw on the gearbox layshaft.
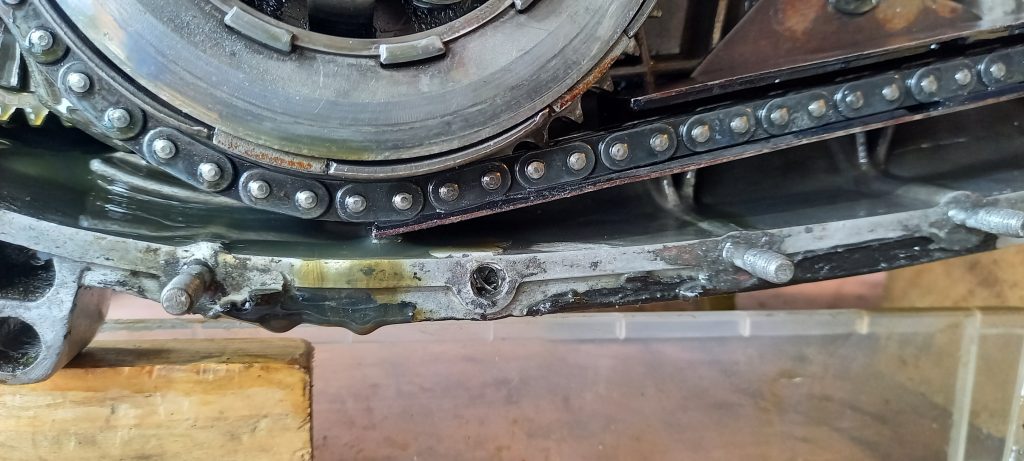
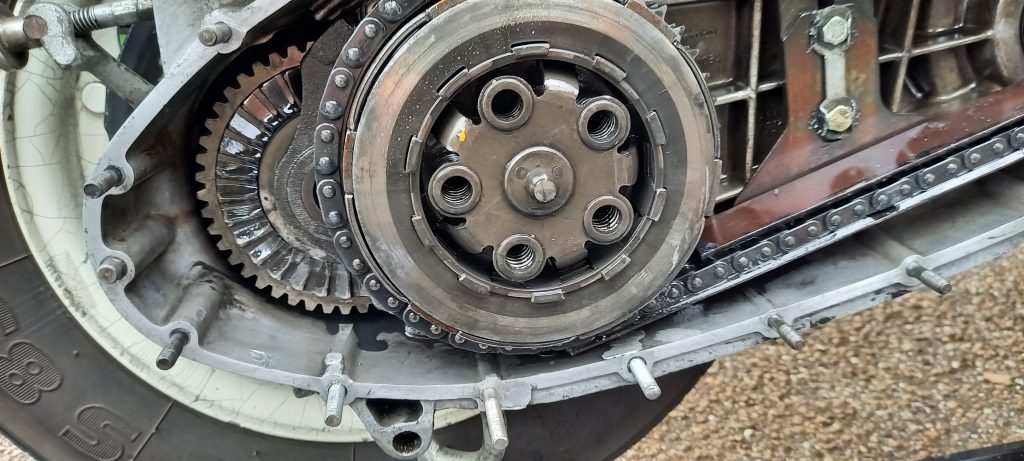
Seen in the image below is the clutch and drive chain (nearest the camera). Just visible behind the clutch is the left hand edge of the gearbox end plate which supports the gearbox layshaft via a needle roller bearing. Behind the end plate, first gear can be seen which also has the drive teeth cast onto it for the kick start shaft.
The TV200 gearbox is noted for having high gear ratios – the highest of any standard Lambretta. This high ratio gearing gives long acceleration between each gear and is also what gives the scooter its characteristic advertised top end cruise speed of 70 MPH.
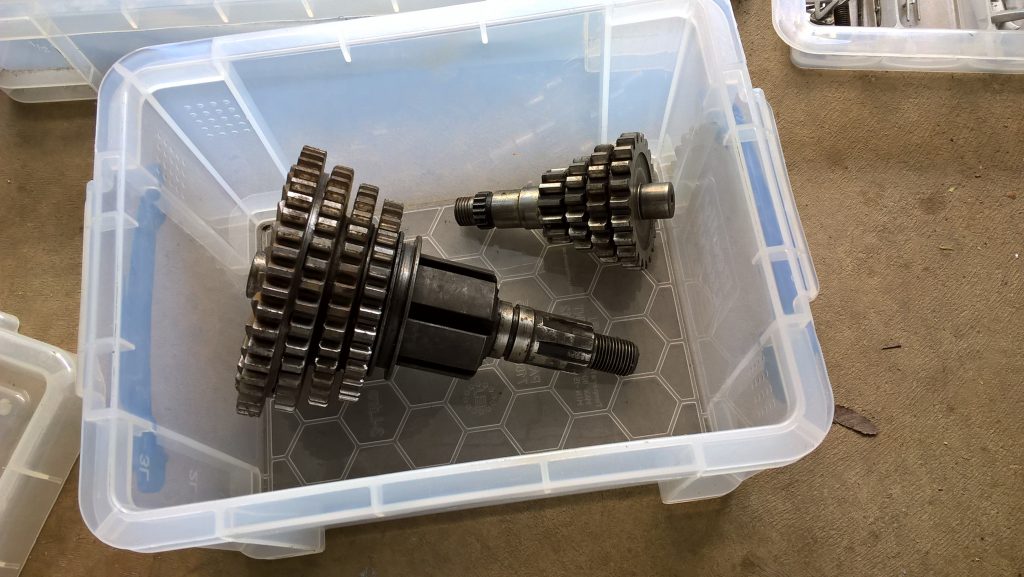
Shown below is my spare set of gears for the GT200 scooter which I bought second hand many years ago. Gear sets in good condition for a GT200 Lambretta are hard to come by.
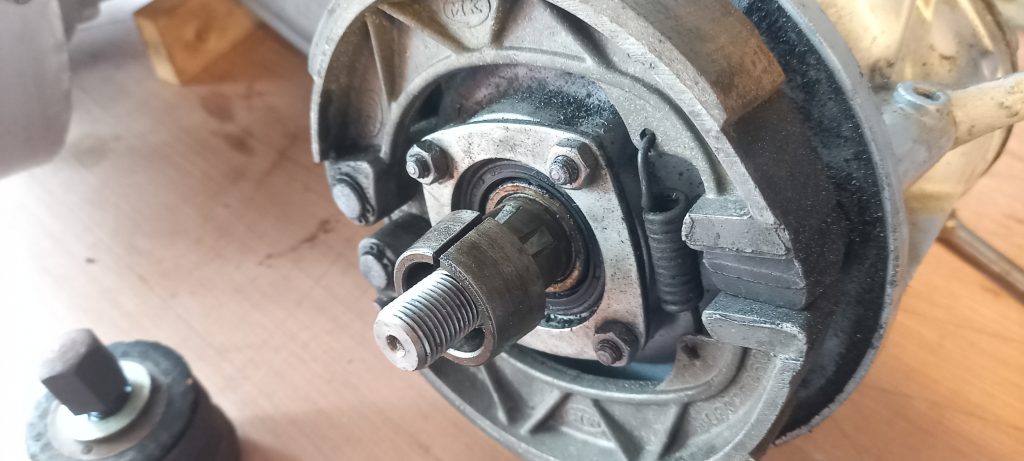
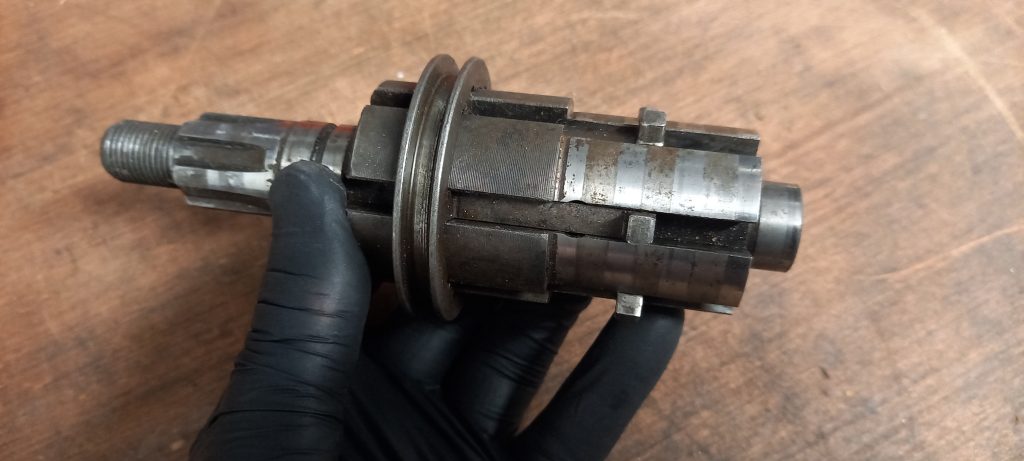
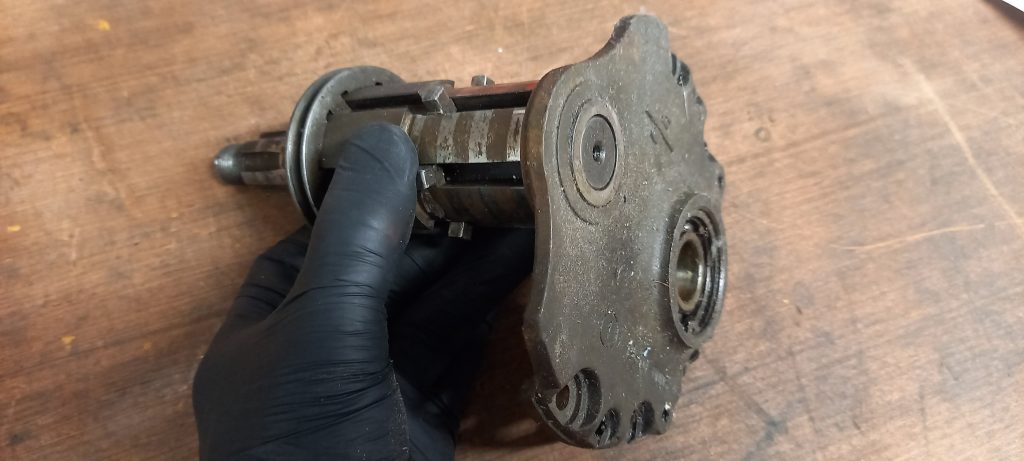
The gear selector claw slides onto the gearbox layshaft and moves in a series of deep grooves in the shaft to engage and lock individual gears to the shaft (see combined shaft and claw assembly in the image below). Note also the splines and thread at the end of the shaft for the rear wheel hub and nut.
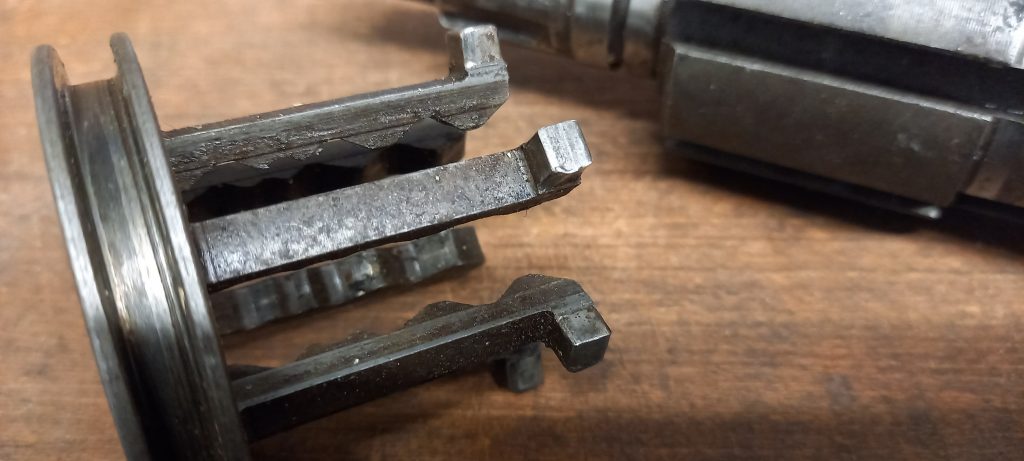
A worn gear selector claw is a problem because it it will cause the gearbox to jump out of gear during acceleration. Shown in the image below is a worn claw where the locating dogs at the end of the claw’s fingers have become rounded with excessive wear.
The location and tightness of the gearbox end plate is also critical as it supports the layshaft. The plate locates on two dowels and six studs located in the gearbox casing.
The correct nut size and tightening torque for the gearbox end plate nuts is absolutely critical. If incorrect nuts are fitted which are too thick, they will fowl the inner edge of the clutch housing.
Also, loosening of the gearbox end plate can have catastrophic consequences for the gearbox, likely resulting in locking up of the entire geartrain.
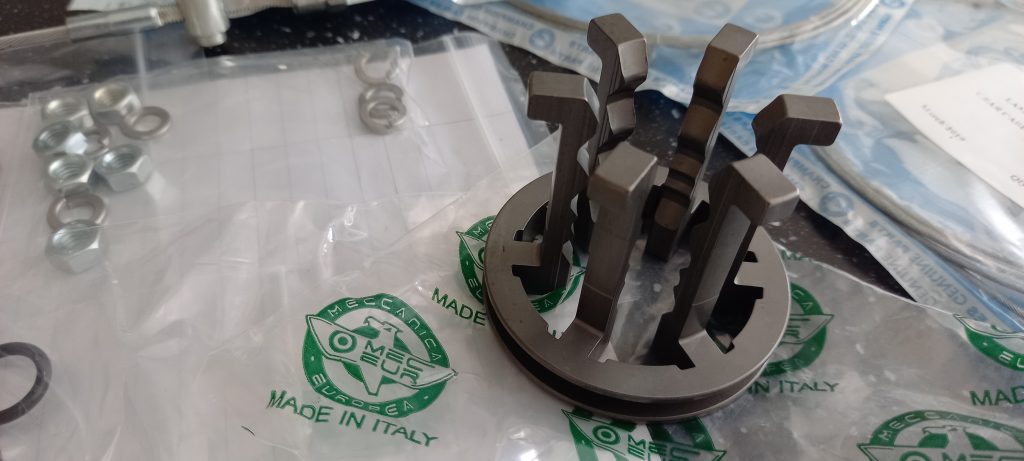
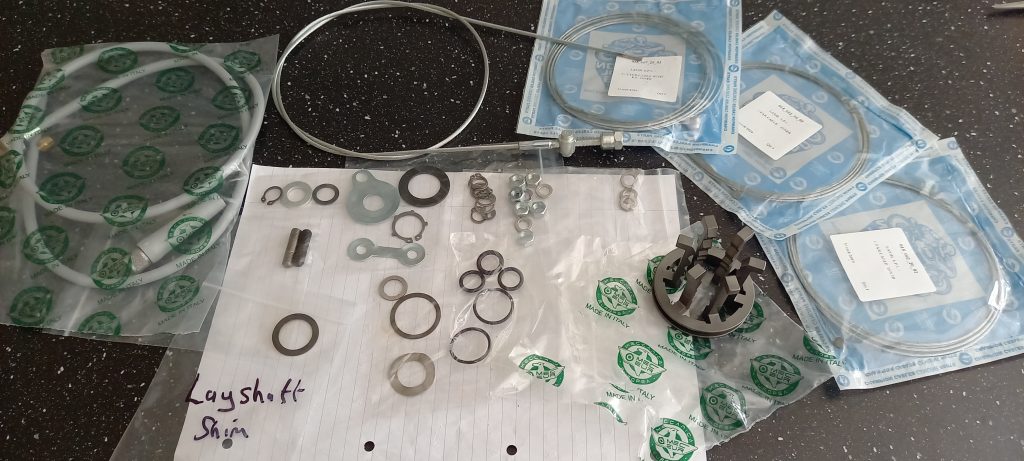
I found the gear selector claw to be excessively worn on my scooter, so I ordered up a new claw along with various replacement shims, seals, nuts studs and washers to refurbish the gearbox and clutch operating mechanisms.
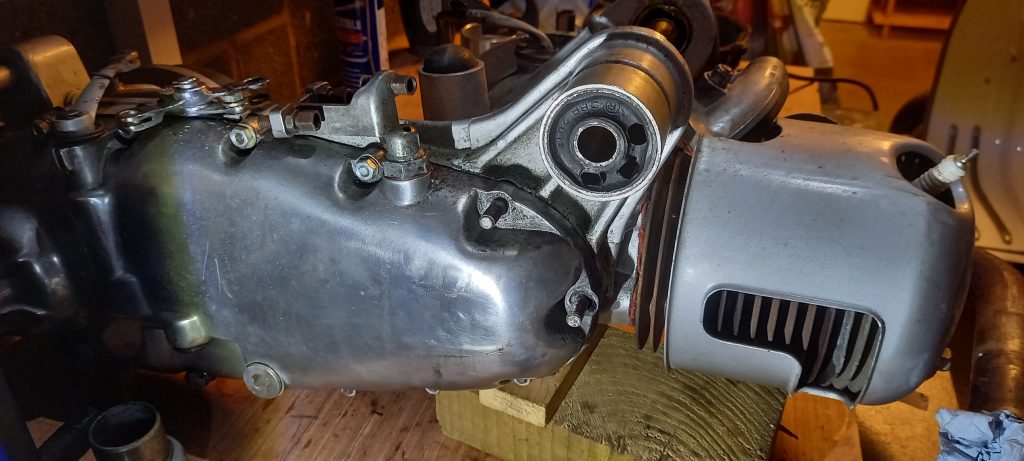
One of the final tasks on the engine unit was to inspect the condition of all remaining casing threads and run a tap through the threaded holes for the flywheel and cylinder cowling 5mm thread screws to clean them up and ensure secure fitment of the cowlings.
It was not necessary to dismantle the engine cylinder assembly and so the gearbox and clutch was carefully reassembled, the chain case cover refitted and the gearbox refilled with fresh oil.
With all engine work done, the engine unit was now finally ready to go back into the frame.
There was still a lot of other work needed before the scooter would be ready for the road and as I said earlier, I will cover these in another blog.
Jumping forward a bit, by the end of May 2021, all work needing doing to the scooter was complete and the scooter was finally ready for the road.
I needed to organise insurance, register for road fund licence and buy a new crash helmet and riding gloves. The scooter is exempt from road tax or requiring an MOT due to its status as a historic vehicle.
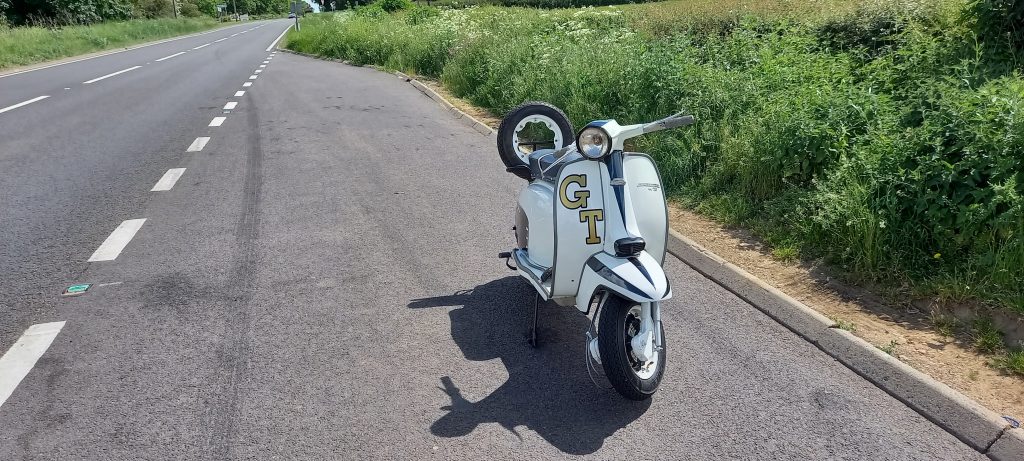
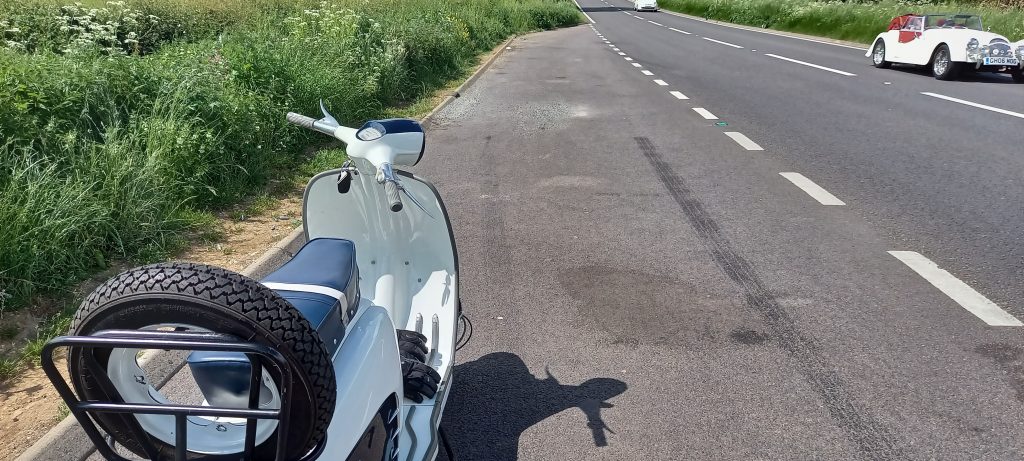
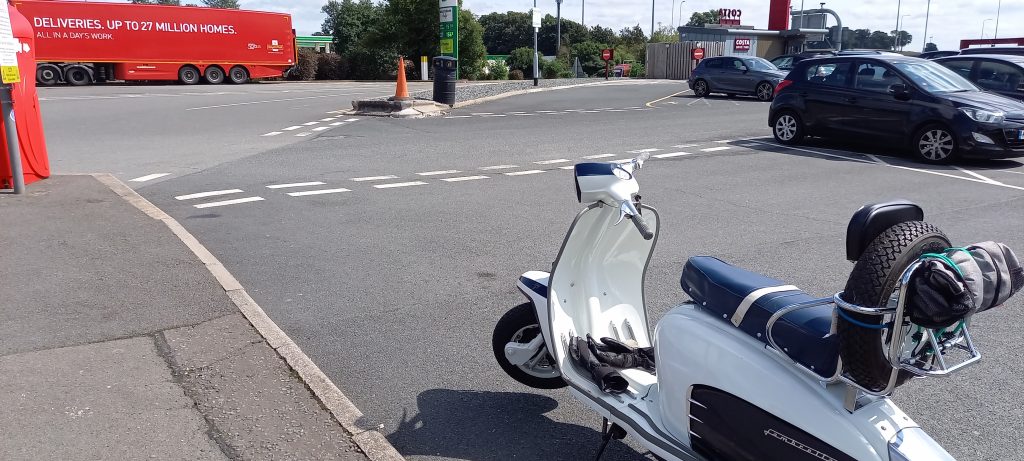
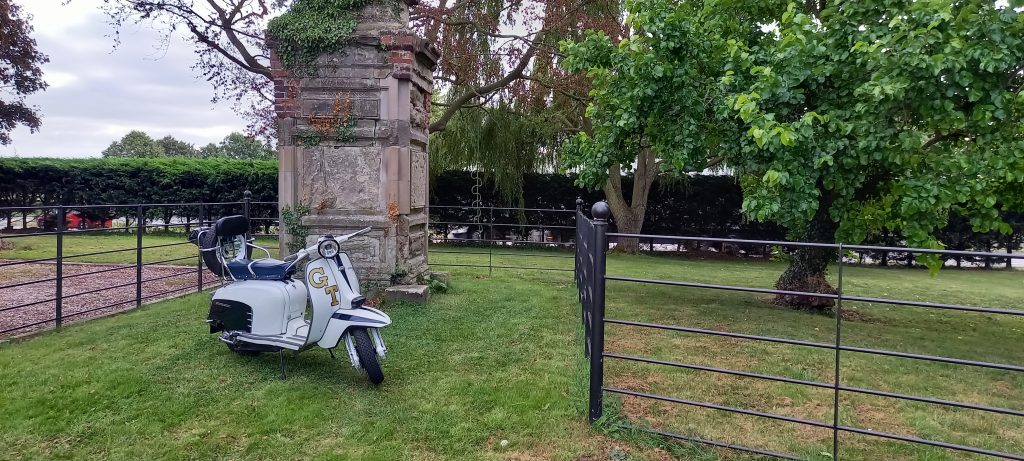
On a sunny afternoon on 02nd June 2021, I took the scooter for its first ride out on the public road in over 21 years.
No words are necessary to describe that first ride out. Instead, here’s a selection of pics from that day and of subsequent weeks throughout the summer of 2021 being back out and about on my old classic Lambretta GT200 scooter.
Very satisfying; worth all the effort; I should have done it sooner.
10th August 2023
It has now been more than two years since I recommissioned my old classic Lambretta GT200 scooter. In that time, I have covered over 2500 (mostly trouble free) miles on it.
I have also made several upgrades and improvements to the scooter including full DC lighting with LED bulbs including the headlight.
I had no idea how that first ride out would go back in June 2021. The scooter needed more work than I originally thought to get it back up to road-going standard. The break downs and mechanical issues of decades past were not forgotten.
That first ride out was a big success.

The scooter has been reliable, though there are still things that need doing (including that chain case cover stud).
I have joined a local scooter club and attended many rides out with them. In doing so, I have reconnected with many old scootering friends from years ago and made a lot of other new scootering friends and acquaintances.
The modern UK scooter scene is thriving and parts availability is excellent, especially for classic machines like my old GT200 Lambretta. There are regular local and regional scootering events and national scooter rallies are scheduled throughout the year, taking place at seaside resorts around the country – just like back in the day.
The only difference really is that we scooterists, like our esteemed motorcycle riding colleagues are now a lot older and wiser.
But the most important thing really though is that it is just nice being back on the road and riding out and about again.
Contact: Tony Kitchen (AK Automotive)
Telephone: 07484 831 015
E-mail: tony@akautomotiveservices.co.uk
© AK Automotive 2023
Page last updated: Thursday 10th August 2023